
Colton Epoxy Flooring installs epoxy garage floor systems across Colton, CA, and the surrounding cities including Grand Terrace, Highgrove, Bloomington, Loma Linda and Rialto, with more than twenty years spent grinding and coating slabs in this valley. A garage floor is the job we do most, and it is the one where the difference between a good outcome and a callback gets decided before any color is chosen.
What decides it is the concrete. Colton has an unusually wide range of garage slabs for a city its size — the largest bloc of housing went up in the 1980s, while nearly three in ten homes were built before 1960 and about eight percent predate 1940. Those are different substrates carrying different risks, and one quote cannot honestly cover both.
So the sequence is test, grind, repair, then coat. Everything below is what that involves and what it means for your floor.
The Two Garage Slabs We Find in Colton
The 1980s Attached Two-Car Bay
The largest group of Colton garages sits under housing built in the 1980s, which puts those slabs at roughly 35 to 45 years of service. They are almost always attached and almost always two-car, and they arrive with a familiar set of problems: control-joint cracking, threshold lipping, edge curling and a deep oil stain where the car has always sat. None of that is unusual and none of it rules out a coating; it simply has to be in the scope rather than discovered on the day.
The Pre-War Detached Garage
Through South Colton and the streets around the original downtown the garages get older, narrower and often detached on a slab of their own. Concrete from that era went down before under-slab vapor retarders were routine practice, sometimes over fill nobody controlled, so those floors can carry a moisture problem and a movement problem at the same time. They are also frequently smaller than a modern bay, which changes how the material is batched and how the crew works around the space.
Why We Will Not Quote One From the Other
A pre-war slab may need coating removal, crack repair, spall patching and a moisture vapor barrier primer before a decorative coat goes anywhere near it, while an eighties bay may need a grind, joint fill and nothing more. Pricing them alike means one of the two numbers is wrong, so we look at the slab in front of us first. That visit costs you nothing and it is the only way either number means anything.
Preparing a Garage Slab Properly
Moisture Testing Before Anything Is Ordered
Every slab is tested before product is ordered. The ASTM F1869 calcium chloride test reads a moisture vapor emission rate at the surface, and the ASTM F2170 in-situ relative humidity probe reads the state of the slab at depth; threshold numbers for both live in ASTM F710. Where a slab reads high, we specify a moisture vapor barrier primer sized to that number, and where it reads very high we will tell you the floor is not ready for a coating yet.
Diamond Grinding to an ICRI Profile
Concrete leaves the trowel closed. We open it mechanically with diamond grinding, choosing a segment bond against the hardness of your slab and running a grit sequence up to the ICRI concrete surface profile the coating calls for, under continuous HEPA dust extraction. We never acid etch, because acid softens the surface and leaves the coating bonded to a weak layer, and it cannot produce a consistent profile on hard-troweled concrete in the first place.
Repairing What the Grinder Exposes
Grinding reveals what the old floor was hiding. Control joints get a semi-rigid filler so the joint keeps moving without the coating bridging and cracking above it, spalls and broken edges are patched, and oil-saturated concrete is treated before priming so it cannot bleed back through the finished surface. All of that is priced with the floor rather than raised as an extra once the grinder is already running.
Coating Systems for a Garage Floor
100% Solids Epoxy as the Body Coat
The workhorse of a garage system is a 100% solids epoxy body coat, chosen for build, adhesion and chemical resistance. It gives the floor its thickness and its grip on the concrete. On its own it ambers under ultraviolet light, which is why it belongs under a topcoat rather than serving as the finished surface. Its job is build and adhesion, and it does both better than anything else available.
Polyaspartic and Polyurea Topcoats
The clear coat is usually polyaspartic or polyurea. Both cure quickly, stay color stable in sunlight and tolerate a wider temperature range than epoxy, which matters in a garage whose door spends half the day open. That topcoat is what actually takes the hot tires, the abrasion and the cleaning, and it can be abraded and refreshed years later without disturbing the layers beneath it.
Flake and Quartz Broadcasts
Between the body coat and the clear coat sits the broadcast. Vinyl flake gives a forgiving, slightly textured surface that hides dust, tire marks and a repaired slab, and it is where most Colton garages end up. Colored quartz is larger and harder, builds a thicker system and delivers measurable slip resistance where a floor gets genuinely wet. It costs more and it is the right call in a workshop or a wash-down area rather than a dry garage.
Our Step-by-Step Epoxy Garage Floor Process
Assessment and Testing
We walk the slab, identify which Colton garage generation you have, check what is already bonded to the floor and run moisture tests. The written scope that follows names the preparation method, the coating system, the film build and the cure schedule, which is what lets you compare our number against anyone else’s on the same terms.
Clearing the Space
The garage has to be empty wall to wall, including anything on fixed shelving, because grinding throws dust and no part of the slab can be unreachable. We agree in writing beforehand who moves what, and will do the moving as part of the job where that suits you better. Anything left in place becomes an uncoated patch, so this gets settled before the day rather than on it.
Grinding and Repair
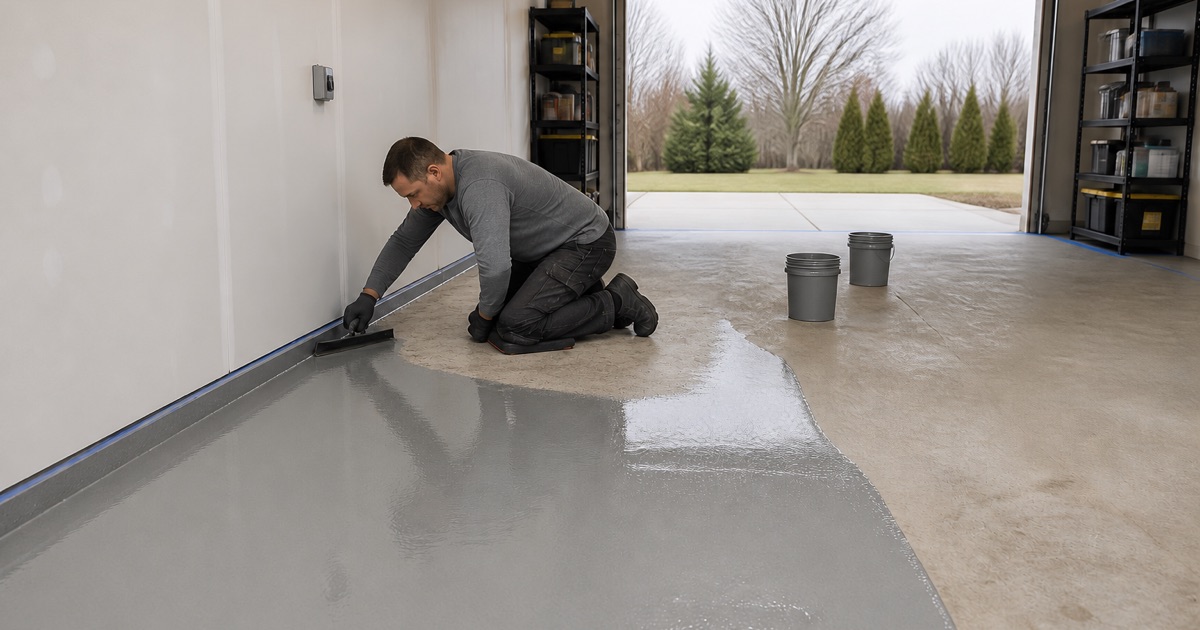
The floor is ground to profile with extraction running, edges and corners are cut in by hand with a grinder and edger, then joints, cracks, spalls and contaminated areas are repaired and left to cure before anything is coated. Skipping that cure to keep the job on one day is a false economy that shows up as a patch outline months later.
Priming, Body Coat and Broadcast
Primer goes down first, then the body coat spread with a gauge rake and back-rolled, and the flake or quartz is broadcast into it while it is still wet. Once cured, the excess is scraped and vacuumed off, which is what gives the surface its even texture. Under-scraping leaves a rough, sharp floor and over-scraping dulls the chip color, so it is slower work than it looks.
Topcoat and Return to Service
The clear coat goes on last and then the floor cures. Foot traffic comes first, light use next, vehicles and hot tires last. We quote each of those dates against the actual slab temperature and dew point rather than a label average, because pot life and cure both move sharply with heat. Releasing a floor to vehicles early is the one mistake that damages it before it has been paid for.
Choosing How the Floor Looks
Flake Blends and Broadcast Density
Flake blends are sold under proper names, and two quotes for a gray floor may be two different blends at two different chip sizes and broadcast rates. We put the blend, the chip size and the broadcast rate in pounds per square foot into the scope so you can compare like with like.
Full Broadcast or Light Scatter
A full broadcast throws chip to refusal until no resin shows, then gets scraped back and topcoated for an even, heavily textured surface. A light scatter leaves base color visible between chips and reads speckled. The full broadcast costs more and hides far more, including a repaired slab.
Gloss, Satin and Matte
High gloss looks best the day the crew leaves and shows every mark afterwards. Satin gives up a little depth and hides a great deal. Matte hides the most. In a garage genuinely used for vehicles and storage, satin is the finish most people are happiest with a year on.
- 20+ Years Experience
- Free Estimates
- Every Slab Moisture Tested